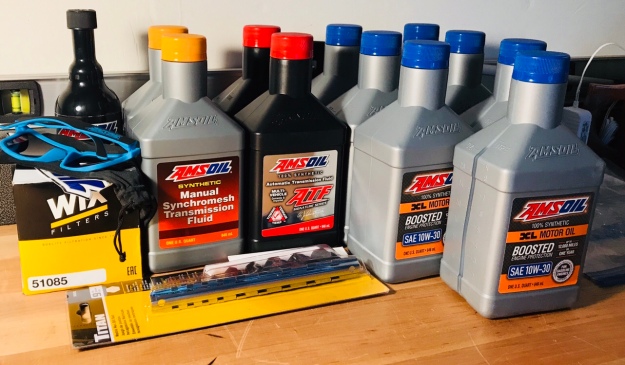
The TJ is getting some long over due love and affection this weekend. Engine oil, transfer case fluid, transmission fluid, some filters… all she needs to feel good and run clean!

The TJ is getting some long over due love and affection this weekend. Engine oil, transfer case fluid, transmission fluid, some filters… all she needs to feel good and run clean!

Damn this trouble code! I believe this code points to one of the O2 sensors downstream, but I’m starting to think this is one of those catch all codes that’s designed to drive owners nuts! I’m not a mechanic, but I can change out a sensor… again! However, I would love to know the root cause of this issue so I can fix it once and for all!
Update:
After a bit of digging on assorted online forums, the signs are pointing to a failed or failing catalytic converter. So off to the parts e-store I go! Time being a premium these days, I’m sure I’ll get the parts soon but they’ll sit on my shelf for a while before I can find the time to pull out the pipes for a replacement.
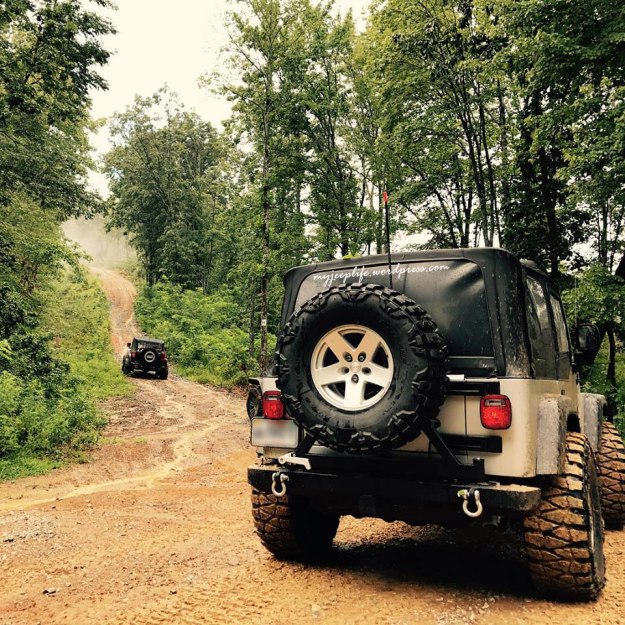
I’m finally back from the shop and with way more mods than I can write about in the next couple minutes. I hope to go into all of them in detail in the coming months, but in the mean time I wanted to drop this awesome picture from Windrock Park where I DIDN’T break an axle this year!
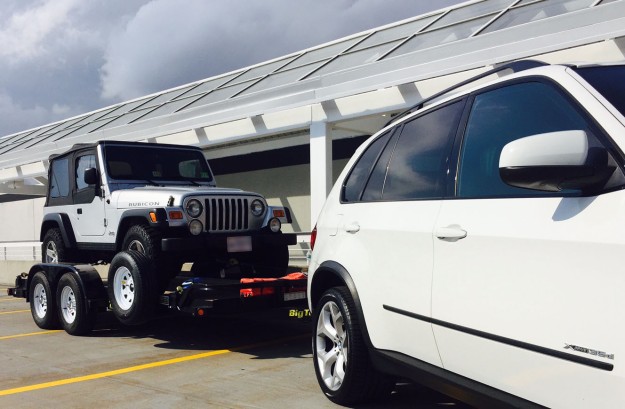
I know I haven’t posted in months, but this blog isn’t dead! My Jeep has been in the shop getting a custom long arm set-up for quite some time. Typically, I like to DIY everything, but when it comes to custom fabrication & welding, that’s just a smidge above my pay grade. Due to factors beyond my control, this work is taking quite a bit longer than expected. BUT, I’ve got new goodies on the work bench ready to go on as soon as the TJ gets back from the shop & trips already planned to get out on trail again in the coming months!
As promised, here are some before/after/during shots of my brake work. Not very glamorous, but well worth the time & effort I put into it.


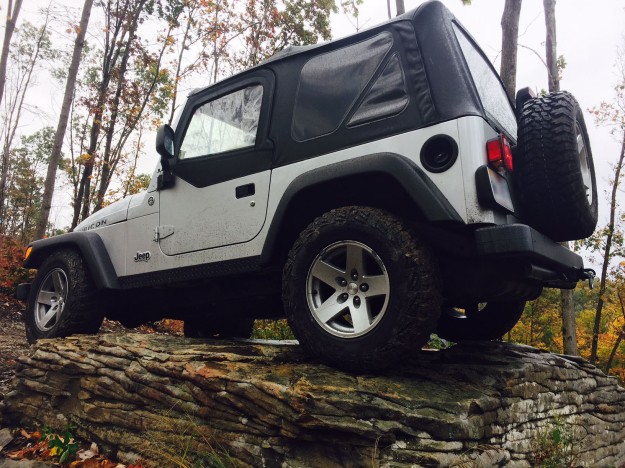
I took the TJ in bone stock form (with a few small pieces of armor) out to Rausch Creek and I’d like to say it did really well save one issue that revealed itself. The bushings in the rear control arms are all so shot that the rear end jiggles something fierce on off camber trails and the rear locker won’t kick on (pretty sure that’s a shot vacuum pump). Other than those issues, it actually did really great! Can’t wait to build it up a little more b/c it really needs a smidge more clearance.

As you can tell by the parts stack above, I’ve got my hands full doing a little brake work this weekend. After a few drives, I thought I should replace the pads since the brakes were a little light, but since I had no idea when the rotors were done (and they looked a bit worn), I figured I should swap those out too. And then after looking around the underside of my TJ, I saw a little too much rust for my comfort on the calipers and went ahead with a new set of calipers all around too. Since I’m not really upgrading, just replacing, these parts aren’t terribly expensive. At the pace that I wrench, this will deff be a few hours worth of work getting my stopping power back. I’ll post up some comparison pictures and gripes after the work is done but won’t be doing another write up. This one applies to TJs too.

When you wheel a non lifted Jeep, every thing that hangs down from the frame is going to take a beating and the lower control arm mounts are no exception. The stock mounts (left) are not the strongest metal to begin with and it only takes a few rocks to cause enough damage to make changing out a control arm a challenging task. So, before you go, armor those LCA mounts up! I’ve selected a set from Synergy Manufacturing. This weld on skid comes as a pair of angled steel plates that protect and strengthen the LCA mounts. I touched them up with a little rattle can black after the welds cooled off and was ready to hit the trails!
On the off chance that you’ve blown the paper cone OEM sub-woofer in your TJ, OR if some clown installed a small door speaker where your subwoofer is supposed to be, replacing it with a functioning product is not particularly difficult or expensive. Jump on Amazon, pick up a Pyramid 6.5-Inch 300W White Injected Cone Woofer, and play along at home.
You’ll want to get started by removing the center console which is held on by three bolts covered by cup holders that remove by hand. A 10 mm under the front cup holder and two star bits beneath the rear.


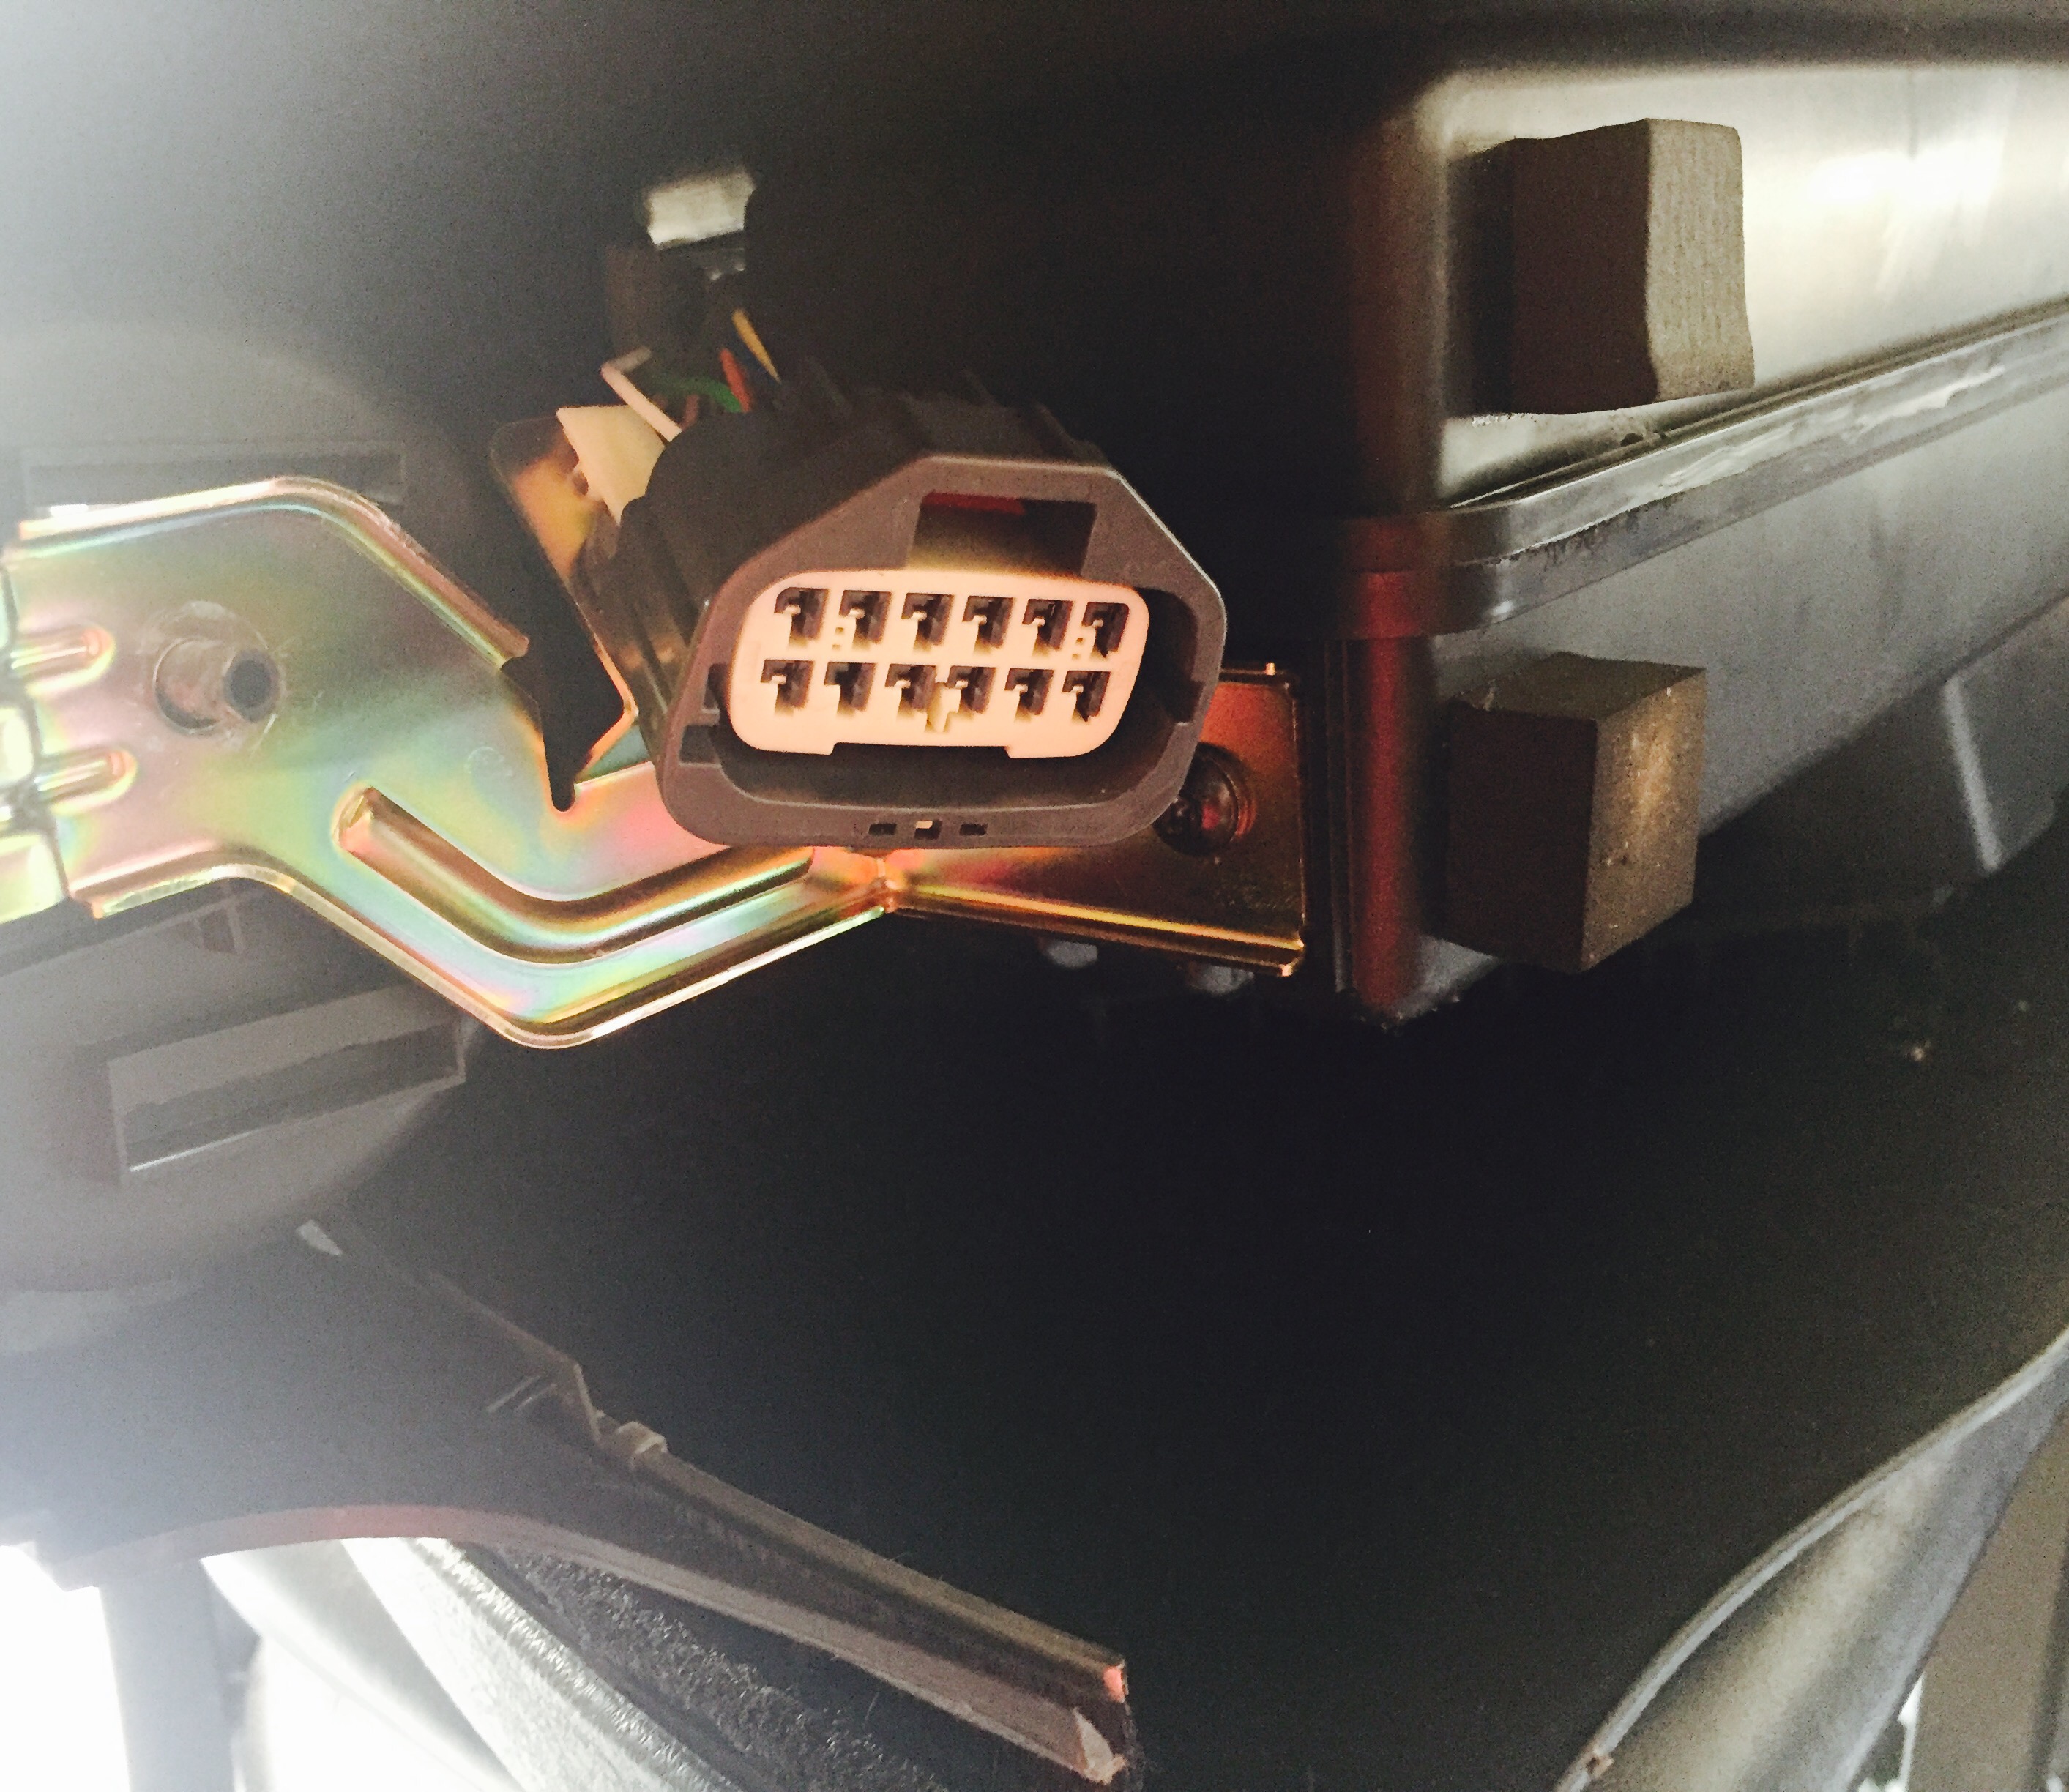
BEFORE you yank out the center console, GENTLY disconnect the wiring harness underneath the console from the Jeep. Now remove the entire console.

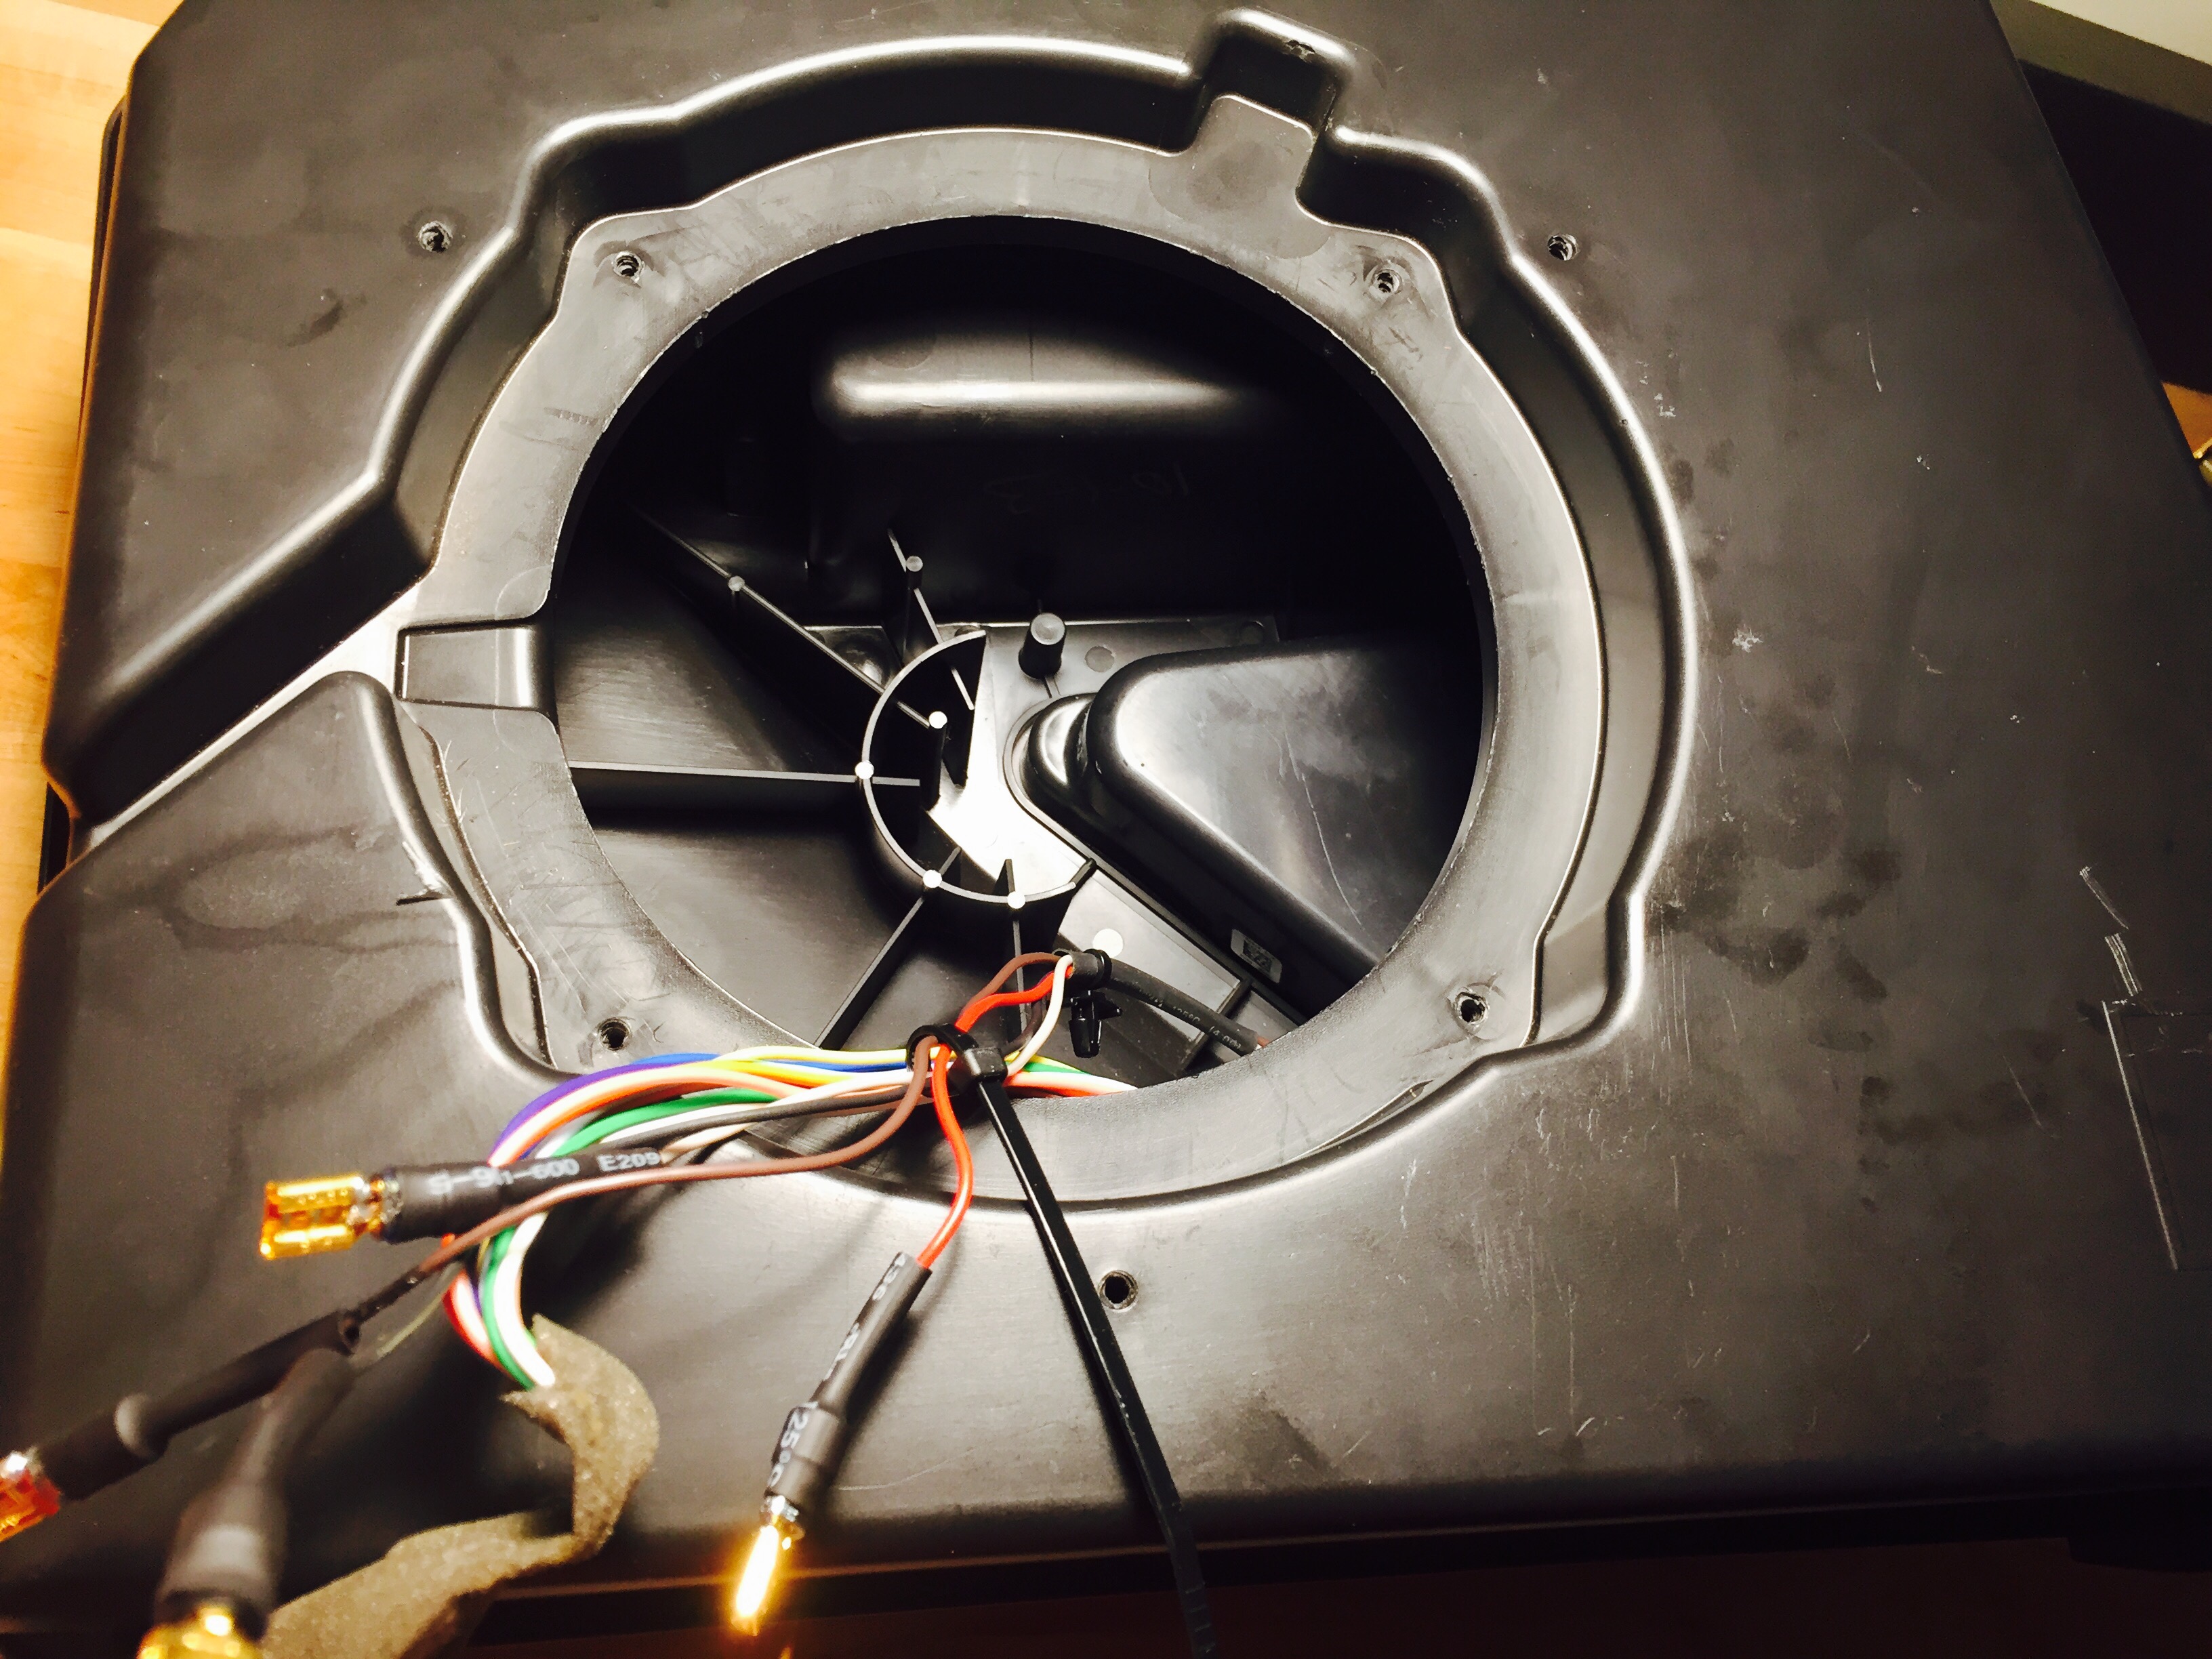
With the center console removed, it’s time to extract the subwoofer and OEM amp. Start by removing two phillips head screws inside the arm rest. Next, remove three phillips head screws on the side of the console near the subwoofer grill.

Take a moment to marvel at what’s there and then remove 4 star bits from the 4 corners of the speaker. That’s all that’s holding the speaker to the box. My door speaker below has extra bolts that you won’t see on your OEM speaker because this is an adapter plate to fit a 5.25″ speaker into a 6.5″ slot. The funny thing is that the previous installer spent almost as much on the adapter plate as the Pyramid sub for this install costs!

Remove/disconnect the speaker and set it aside. Disconnecting may require a set of wire cutters if the wires are soldered.


To fit the Pyramid sub, a little trimming to the inside bottom of the speaker box is necessary since this speaker is a bit deeper than stock. Not a lot, but enough that you need to cut down the plastic to make it fit. I used a Dremel with a EZ544 cutting wheel to make short work of that plastic. Yeah, I know that cut off wheel is designed for wood, but it’s what I had on hand and it did the trick with out any problems. Keep the Dremel speed low, and go at it with a steady hand.

To help prevent any vibration or rattling, I put foam strips (available at any hardware store) around the lip of the speaker mounting location. Nicer speakers typically come with foam strips for mounting, but when you use the $20 Amazon special, that sort of thing often gets left out. No, you don’t need it, but I suggest it.

Next, connect the sub and please try to do a cleaner soldering job than I did. Clearly, not my finest work.

To further increase the quality of my enclosure, I used a little filling to pad the inside of the sub box. I’ll let you read up on why here. To continue to keep the cost down, instead of proper polyfill, I snagged the cheapest firm pillow I could find at my local Target and borrowed a little of the stuffing. (…man I hope I didn’t over fill it!)


With the wiring connected, the edge covered in foam, and the box stuffed, you can go ahead and install the speaker. I tried to get as close as possible to the OEM holes, but in the end I had to drill small pilot holes about 1/8″ closer to the edge to mount the speaker. Just a small pilot hole mind you, the speaker screws will dig in the rest.

Next, slide the speaker box back into the center console. Loosely tighten the 3 phillips head screws on the side near the grill, next fully tighten the two screws inside the arm rest, finally go back around and fully tighten the screws on the side.

Reinstall the console in the reverse order that you removed it. Connect the wiring harness and secure it to the console using OEM clips. Install the console into place and finger tighten the front and rear bolts. 1o mm in the front, two star bit bolts in the rear. Position the console in the final resting place and make sure to tuck the carpets how you want them to sit then tighten everything down. Drop in the cup holder covers and enjoy your new sub! Go ahead, crank it up!
I know the steering box had to go somewhere on the Wrangler, but why did they put it hanging down like bait for a rock to snag, I’m not sure I’ll ever know. Look at it below, just begging to take a beating from the first rock you see!

Not on my watch! Below is the Skid Row steering box skid. It’s a quick and easy mod that will run you around $50 to protect the steering system in your Jeep.

To install, remove the two bolts I’m pointing to below using a 16mm and a T-55 torx bit.

Hold up the skid and finger tighten the bolts so that it’s in position. There is also a 3rd hole (not pictured) in the skid facing the passenger side that lines up with the stock cross member. The kit comes with a self tapping screw, but first you’ll need to mark the spot and drill out a 5/16’s (I think that’s the right thickness) hole.

Once you’ve drilled out your pilot hole, install the skid using the front star bolt, the horizontal 16mm bolt, and the self tapping bolt. Tighten those three bolts and that’s all there is to it. There you have it. A nice chunk of metal protecting your steering box from any rocks you might come down on.

All this mod took was a few hand tools and about 5 minutes of labor making this a very worth while and easy improvement.

