#SorryNotSorry for the terrible braking puns lately. What can I say? They make me chuckle! For the longest time, I’ve had mechanic friends of mine ask me why I pay someone else to do my brakes. I don’t really remember what excuse I gave them, but after doing my own pads & rotors one time, I started wondering the very same thing. Jeep brakes are very simple to do yourself with just a few basic hand tools. Full disclaimer, the pictures are going to jump around a little bit in this post (pads in my garage, rotors in a parking lot) since the pads were done before I installed the rotors, so apologies if that creates any confusion.
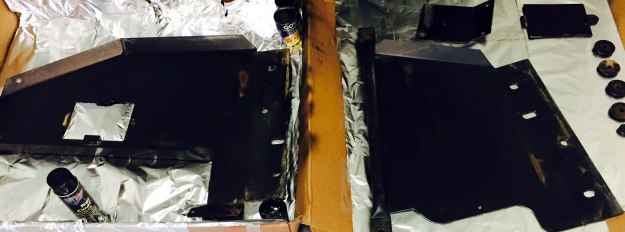
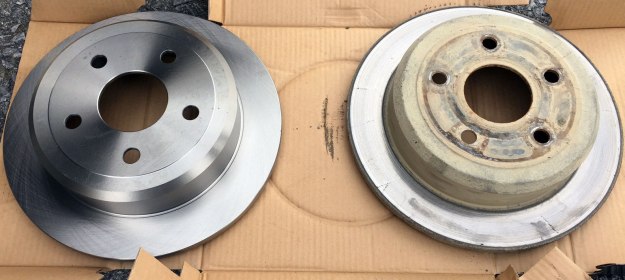
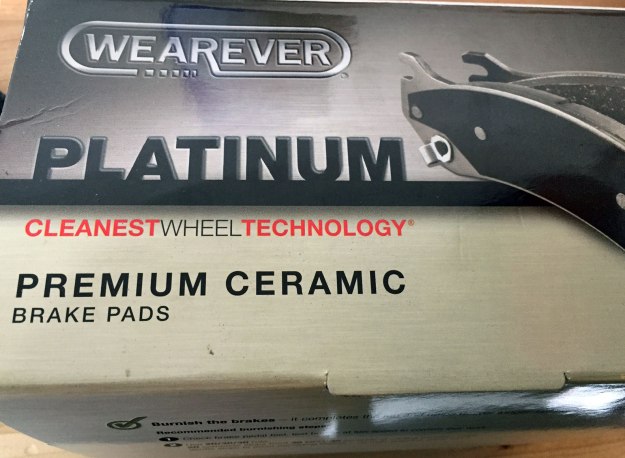
Since my recent report that all 4 of my rotors are glazed over, I picked up a new pair of Carquest Wearever Brake Rotors. They were in stock, got great reviews, and the price didn’t break the bank. I also snagged a set of front & rear Carquest Wearever Platinum Professional Ceramic Brake Pads (previously) on recommendation of a fellow Jeeper who drives a rig much heavier than mine. And if they can stop his Jeep, they can sure as hell stop mine.
I’ll go over the steps for my rear driver side wheel, but they are pretty much the same at all four corners. The only small caveat is the lack of parking brake adjustment on the front axle. Get started by jacking up the axle you’ll be working on. You can either lift up one wheel at a time, or one axle at a time, or if you have the space & jack stands get the vehicle up off the ground completely (easiest way to work!). Please, please make sure to use jack stands. Having a Jeep fall on you with nothing but a rotor as a contact point could be very unpleasant. If you are going to adjust the parking brake, do NOT have the parking brake engaged. With the Jeep safely supported and chocked, remove the tire and set it aside.
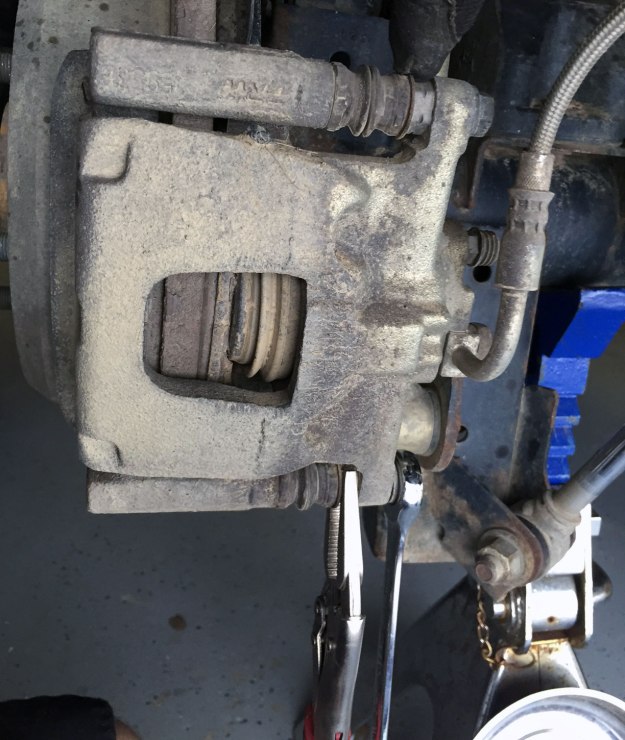
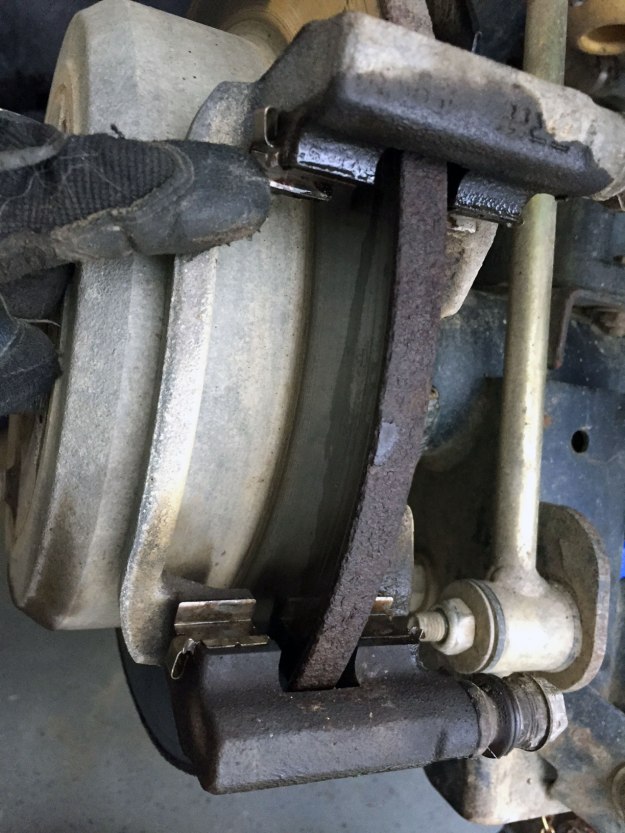
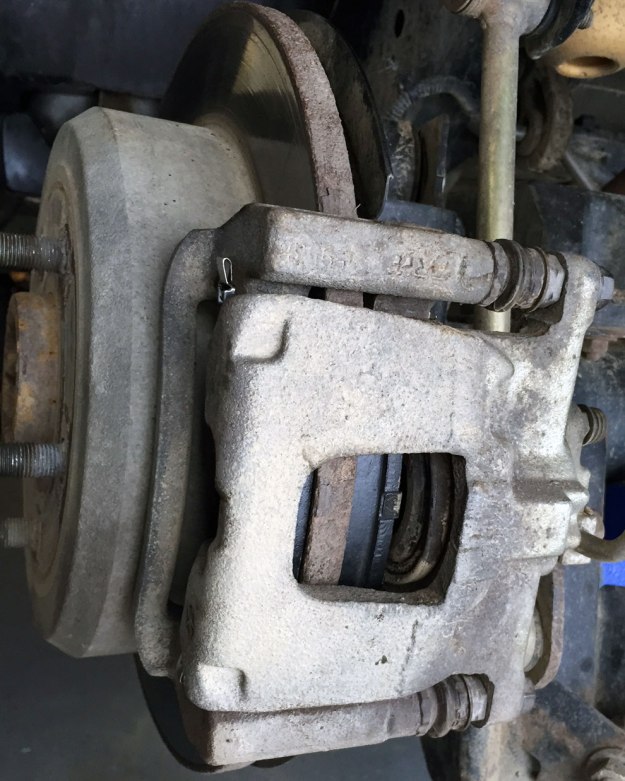
Now look on the back side of the rotor/caliper to find two 18mm bolts that hold the caliper in place and a pair of 15mm disc brake pin bolts. Since we are doing pads and rotors, I like to separate the caliper bracket from the caliper body to grease the disc brake pins and make it easier to install the caliper onto new thicker pads. BEFORE you remove any bolts, have a bungee cord or zip tie or some rope on hand. Basically, you’ll want to hang your caliper body on the frame to keep it from pulling on the brake or ABS lines. Using either a very skinny combination wrench or a set of needle nose pliers, remove the 15mm (I think they are 15mm, see pic below) bolts from the disc brake pin to separate the caliper bracket from the caliper body.
To remove the 18mm bolts, use whatever tools you’d like but If you have a ratcheting combination wrench, it will make your life much, much easier as these bolts can be a little tricky to reach with an impact or large socket. Since you already removed the disc caliper pins, the caliper body should slide right off leaving the pads and caliper bracket sitting on the rotor.

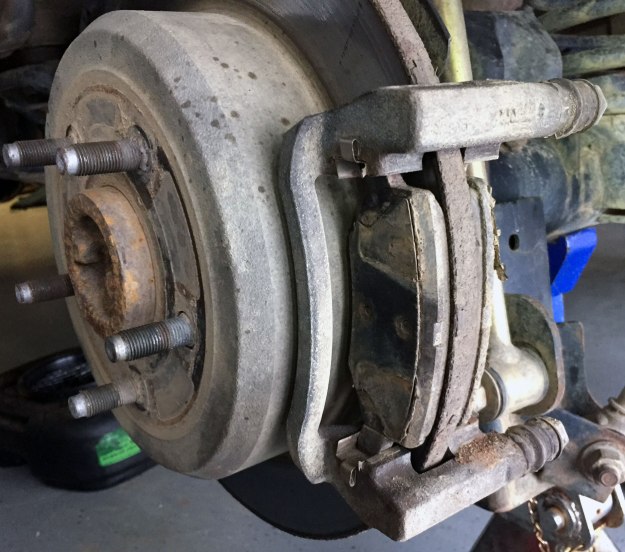
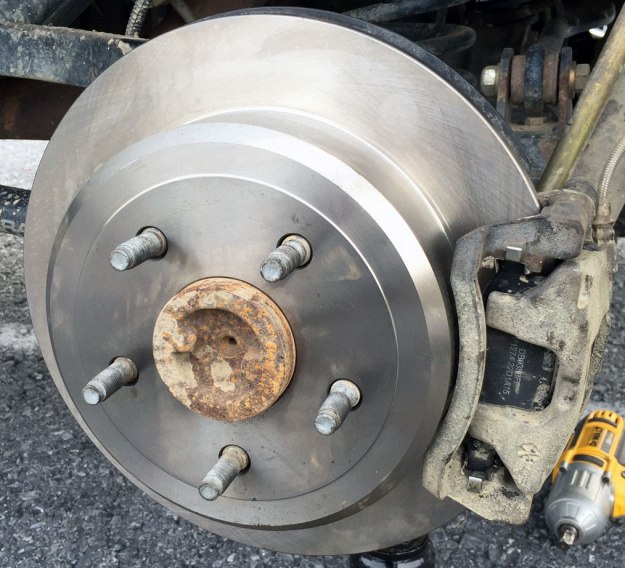
Remove the caliper bracket and old pads and set them off to the side while you work on your rotor. The rotor is pretty much unsecured from your Jeep at this point. I say pretty much because if this is your Jeeps first time getting a rotor change, you may have a couple internal tooth washers on the bolt studs. They look like little metal washers and they are on there from the assembly line to hold the rotor in place before the calipers are bolted on. If you can simply unscrew them, go for it. If you’ve got a few more miles on your rig, then I suggest a screw driver and hammer. Just try to pry them up a little, then take a pair of pliers to rip them off. You won’t be reusing these pieces, so rip away. Next try to gently pull the rotor towards you. If it doesn’t pull off (it probably won’t) it may need a little motivation.
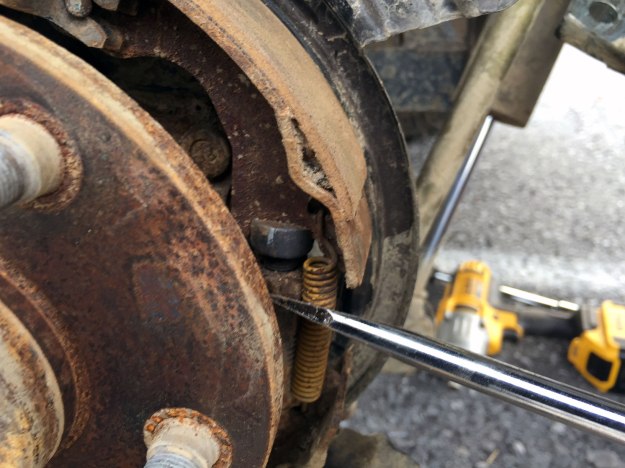
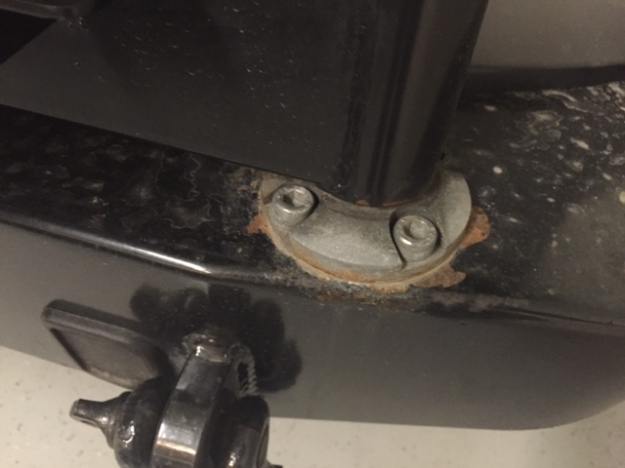
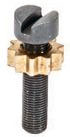 With the rotor off, you can get a good look at the parking brake mechanism. Go ahead and spray everything with a nice dousing of brake cleaner. Get all that gunk outta there! While you’ve got the brake cleaner in your hand, spray off your new rotor too. There will be oils to keep it from rusting in the packaging and you want to remove those before installing. But before you put the new rotor on, let’s adjust the parking brake tension. To adjust, simply turn the metal star gear (pictured to the right) that’s next to the brake shoe return spring. It should be fairly easy to find since it’s the only spring in the assembly.
Not sure which way to turn it? Look at the spacing on the bolt it’s attached to. The gap between the star bolt and the head of the screw should be getting larger and the brake shoes should be moving out. If it’s not, then stop and turn the other way. Since you can only move it one or two clicks at a time, this may take a minute. After you’ve adjusted it a few turns, test fit the new rotor in place. If it won’t go on, then you’ve over adjusted the parking brake and will need to back it off. If the rotor slips right on, then you might need to push out a few more clicks. Ideally, you’ll want to adjust the tension until the rotor doesn’t spin at all around the parking brake and fits very snug, then back the star gear off about 2 clicks. With the parking brake adjusted, slide the rotor in place once again. Nothing to bolt on at the moment, just press the rotor firmly in place using your hands.
Congrats! You just changed a brake rotor AND adjusted your parking brake cable! Go take a breather and come back refreshed to swap a set of brake pads.
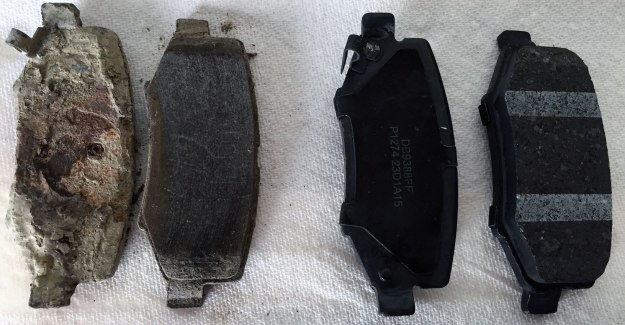
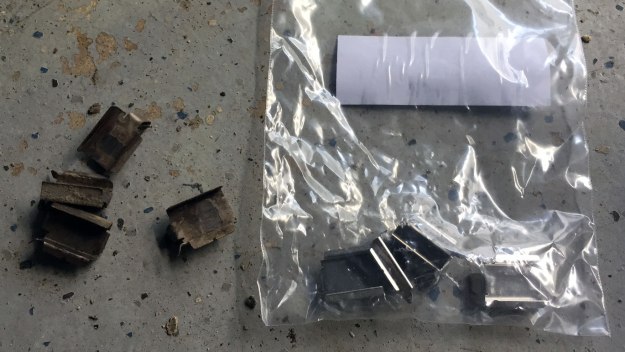
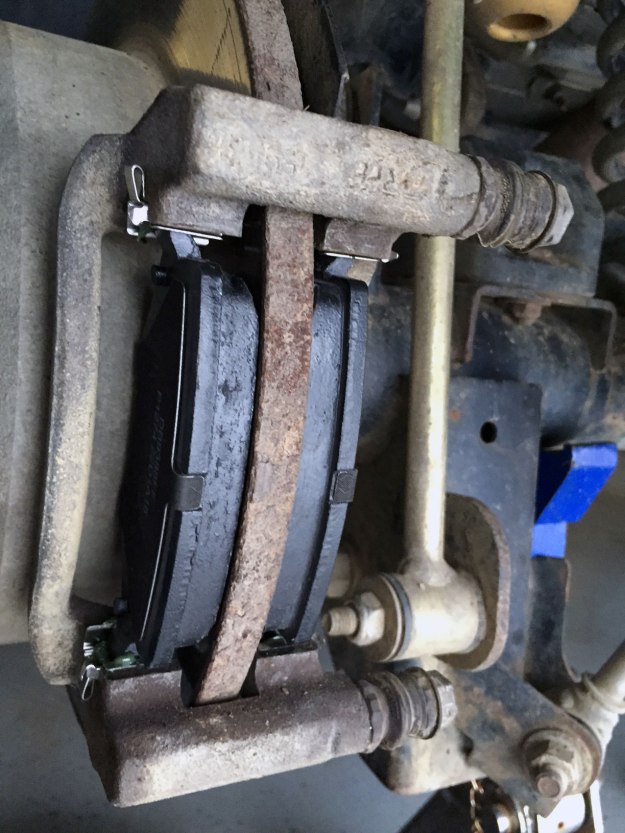
The next step, you can do many different ways. You can have the brake assembly as one unit, or you can take it apart completely. If you are following along with my pictures, it’s has been taken apart. Get started by removing your old brake pads from the caliper bracket and attaching it to the to the Jeep using the 18mm bolts you removed earlier. In the bracket, you’ll see 4 little metal clips (I’m pointing to one of them in the pic below). Remove the clips and replace them with the new set that came with your new brake pads. I like to put a little grease in the clips after they are inserted to help keep the pads moving nicely and prevent any unnecessary brake noise.
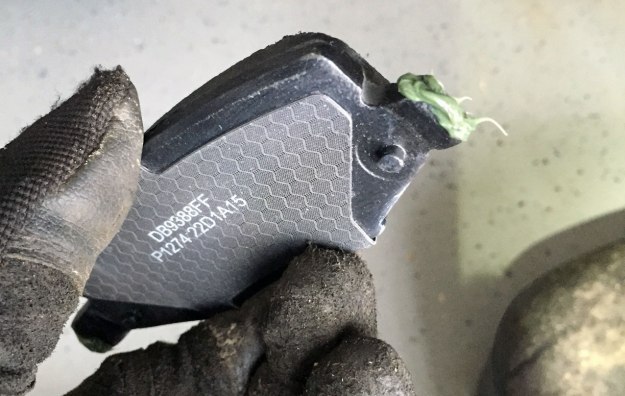
With the clips inserted, grab your new brake pad (trying NOT to make contact with the pad surface) and put a generous glob of grease on the “ears” of the pad that will fit into the clips.
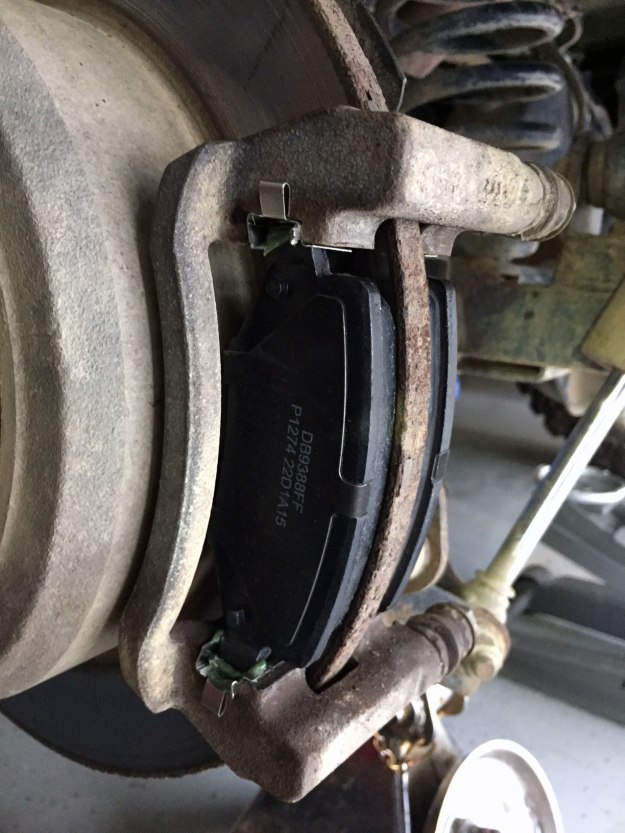
With both ears greased, insert the pad into the caliper bracket and then repeat for the other pad on the other side of the rotor.
Now that the pads have been fitted into the caliper bracket, it’s time to put the the caliper body back together. By now, the piston in the caliper body has probably decided to decompress and stick out so you’ll need to correct that using a 4″ C-Clamp. Yeah, you can get by with a 3″ as seen in my picture below, but it’s a VERY tight fit. Go ahead and drop the $8 on a bigger clamp to make your life easier. Gently tighten the clamp to push the piston back in.

Now that the piston has been compressed, remove the C-Clamp and slip the caliper body onto the new brake pads and caliper bracket. Re-insert the 15mm bolts into the disc brake pins and tighten everything off. Give those 18mm bolts a double check as well and you are all done!
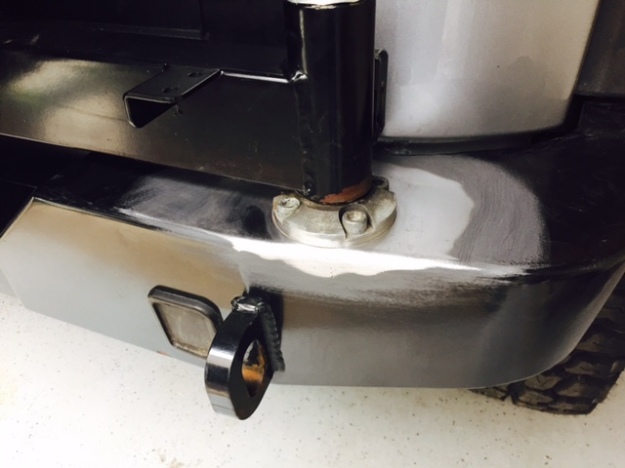
And now shown here with a new rotor and new pads:
Is everything clear as mud? If you are confused with the read through, please post up questions in the comments section and I’ll be happy to answer them the best I can. Trust me, once you change a set of pads or rotors once, you’ll ask yourself why you’ve been paying hundreds of dollars to someone else all these years.